How to set up your Oculus Rift
No holes in the wall required for this VR headset
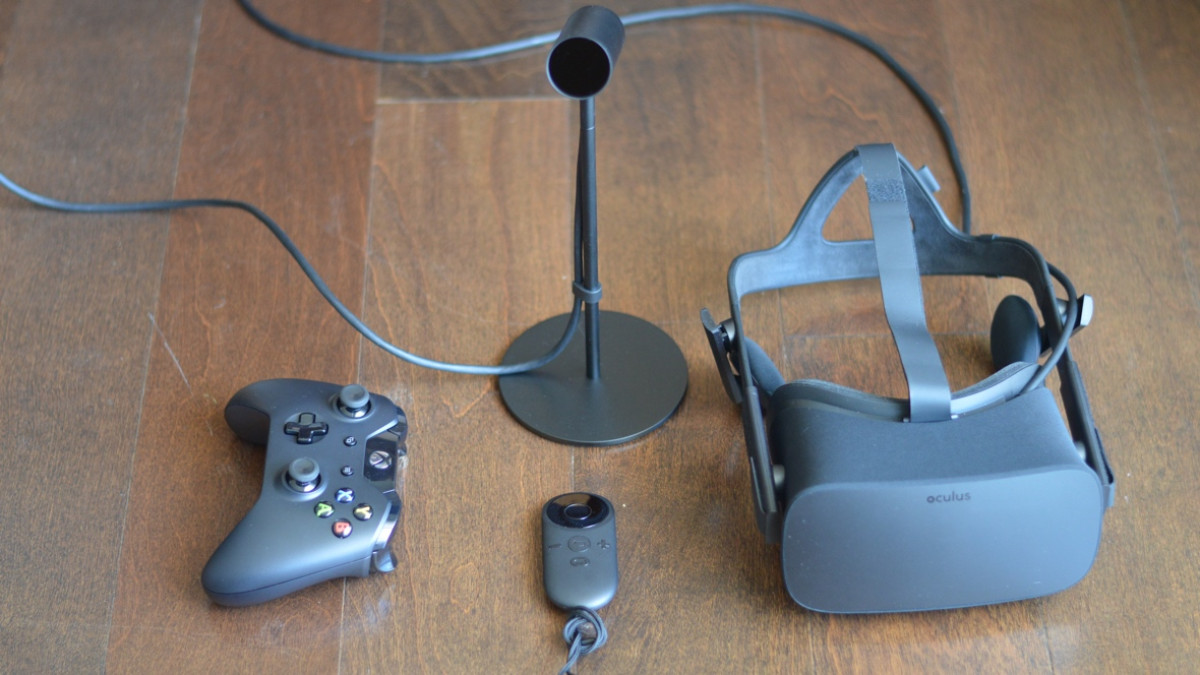
It's clear from the moment you open the Oculus Rift box that setting it up is designed to be a simple process – so simple in fact that there aren't even any instructions, except a placard directing you to the Oculus set-up site.
Unlike HTC Vive and its 16 parts in a fairly large package, everything you get with the Rift is stowed away in a medium sized box. Setting up the Rift is also a much easier affair than setting up a Vive since you're primarily just figuring out where the cords plug in.
Read next: How to set up your HTC Vive
The whole process shouldn't take long. Including software downloads and accounting for internet speed, you should be ready to VR with your Rift in 15 minutes or less (30 minutes or more for slow internet).
In case you have any questions or problems, read on to find out how to set up your brand new $500 (ish) headset and 'Step into the Rift.'
Step 1: Clear off your desk
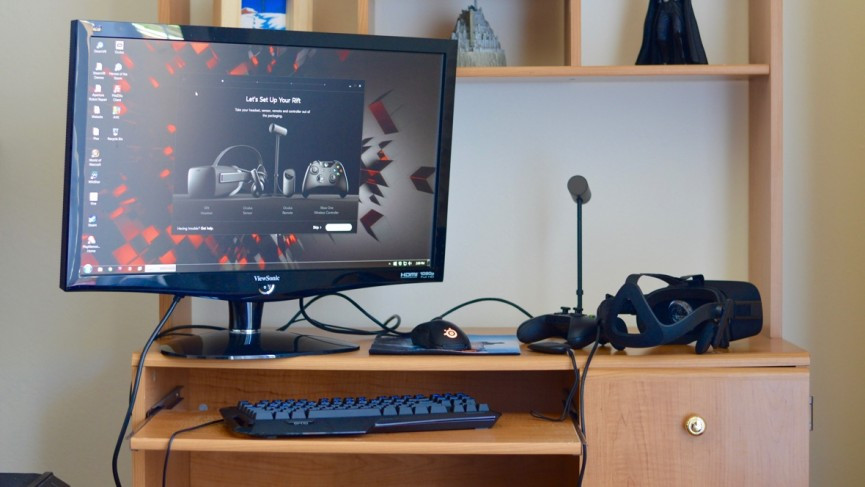
As I mentioned in my review, it's a good idea to clear out some desk space for your VR headset. My own desk (pictured above) is pretty small so I already have to keep it tidy to take advantage of the real estate.
It's not a huge deal but it's helpful to give your sensor a clear line of sight, and you'll need spots for your controller and Oculus Remote since you'll be putting one down for the other depending on the game.
They're also not tracked by your one Oculus sensor nor does the Rift have a front-facing camera, so knowing where your controllers are by keeping them in designated spots can be helpful.
Step 2: Run Oculus setup
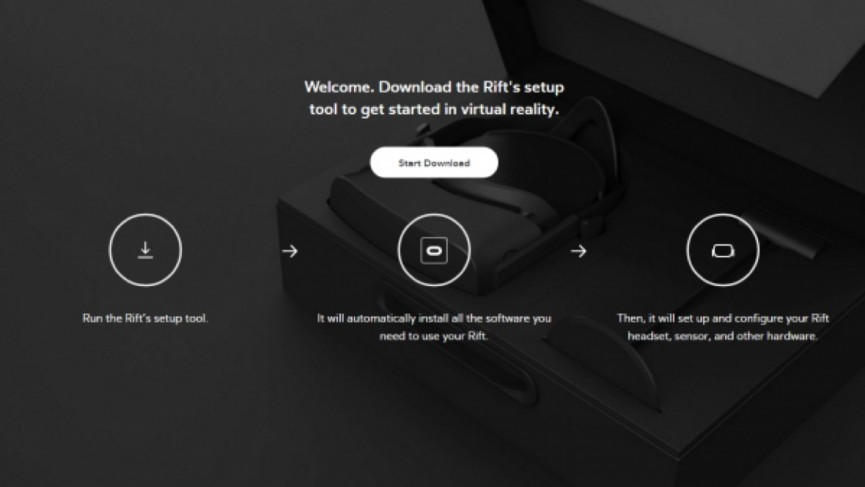
Following Oculus' prompts is another easy step. Simply head to oculus.com/setup and install the software required.
The setup will also figure out if you have the proper hardware to run the headset. If you're running under the required specs, it might freak out at you but it should continue the setup if you at least have the minimum GPU. Before building my own PC, I borrowed a friend's computer which didn't have the needed CPU. The tool still worked but often notified me with warnings about having a less than optimal experience.
Step 3: Connect a few cables
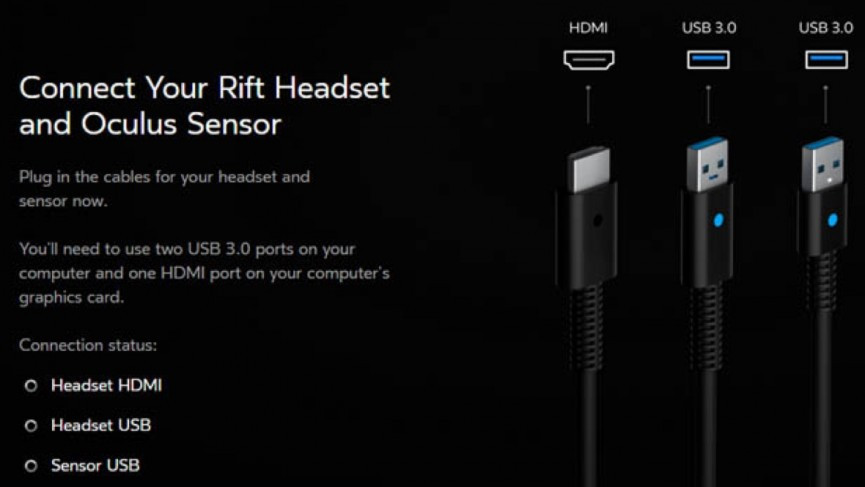
The Oculus setup takes you through this but just in case, we'll provide a bit of background info.
The cable that runs from the Rift to the PC splits into two pieces. The USB cord needs to be connected to a USB 3.0 port – which is typically marked as blue on most PCs (where black is USB 2.0).
The second piece of the cord ends is an HDMI connector. Oculus stresses this part often as it's where a lot of people go wrong: the HDMI needs to be plugged into your graphics card's HDMI port and not anywhere else because it's the most powerful port that can handle the processing.
Similar to the HTC Vive setup, the HDMI might steal the port for your computer monitor meaning you'll have to get another cable for it. A DVI cable is the likely backup.
Unfortunately Oculus doesn't include one so your best bet is rummaging around the house for one, heading to your local electronics store or ordering one off Amazon with its sweet one-day shipping deals.
Step 4: Position your sensor
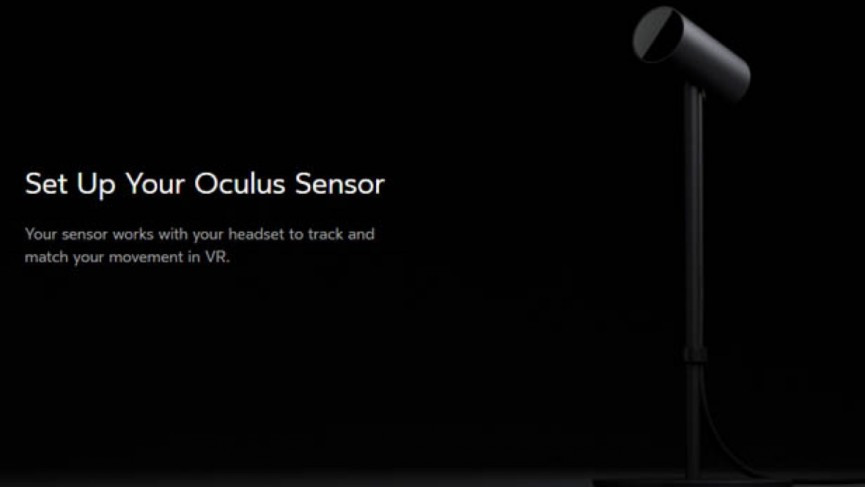
After plugging in the Rift headset, you're left with the last cord from the sensor. This guy requires its own 3.0 USB port.
It's key to make sure that nothing's obstructing the sensor's view. It's recommended to have three feet between you and the sensor but it's surprisingly not picky. I was able to set it a little over an arm's length away from me and it's still able to detect all my movements.
You won't be standing much with the current collection of Oculus games so don't bother trying to figure that out. Plus it's an easy adjustment for later when Oculus Touch comes out and you finally get to ditch your desk chair.
Step 5: Plug in controllers
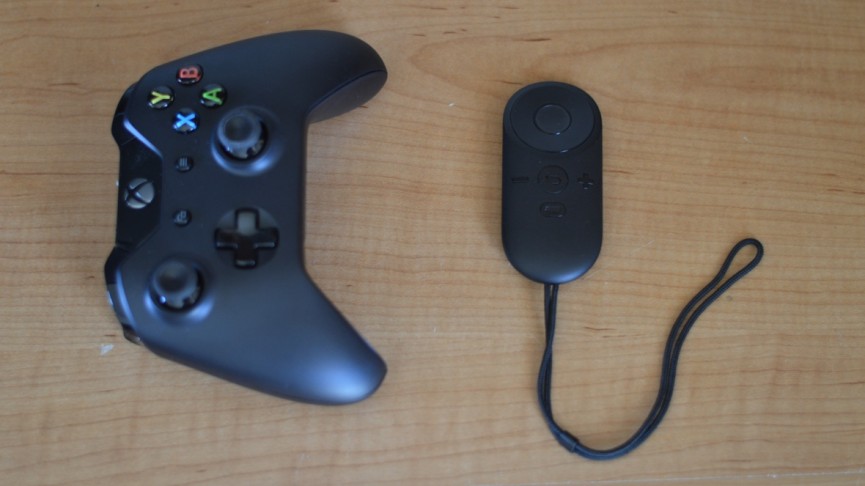
If you thought the other steps were easy, this one's the easiest.
For the Oculus Remote, you'll have to pull out the plastic tab before it's able to work. Oddly, it took me a while to get the thing out and I even had to resort to needle nose pliers. It actually wouldn't turn on right away but it finally kicked in later on. I had to skip the process of using it during the setup (which is fine if you need to as well).
The Xbox One remote requires batteries, which Oculus includes, and plugging in an adaptor. There's also an extender if that's easier to use. You can use a USB 2.0 port for either one. From there, push the syncing buttons on the controller and the adaptor.
After that, it's a matter of setting up your Oculus account if you don't have one, downloading games and sitting back to enjoy some virtual reality.