
If you want to maintain a consistent effort level throughout your workouts, setting up heart rate alerts on your Garmin watch is a valuable trick to have up your sleeve.
What was once reserved for Garmin’s more feature-rich watches is now available across the entire lineup—whether you own a Fenix, Forerunner, Venu, or another model.
Garmin allows you to set up specific alerts based on your activity profile. If heart rate zones aren’t your preference, you can also choose to set up alerts related to pace, power, cadence, calories, and more.
The same rough steps apply to those alert types, but we’ll focus on creating heart rate zone notifications in the steps below.
SQUIRREL_PLAYLIST_10207701
Note: Our test device is the Garmin Epix Pro (Gen 2), and the instructions may vary slightly depending on your device.
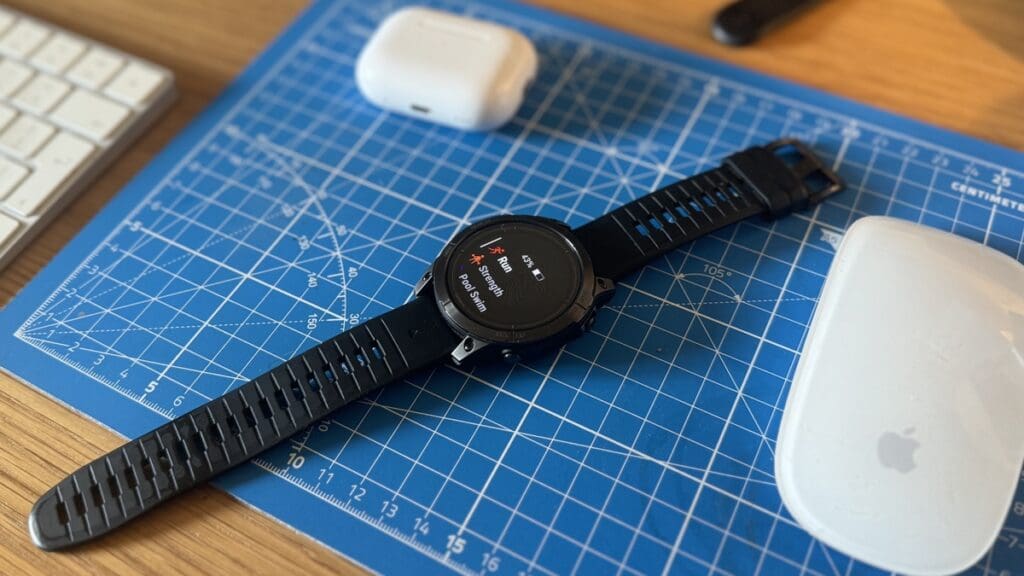
Step 1: Go to begin a new workout
You can set up heart rate alerts no matter your activity type. We’ve used running as our selected sport here, but you can still follow the same steps.
Get started by pressing the ‘Start/Stop’ button on your Garmin device to bring up the list of workout profiles.
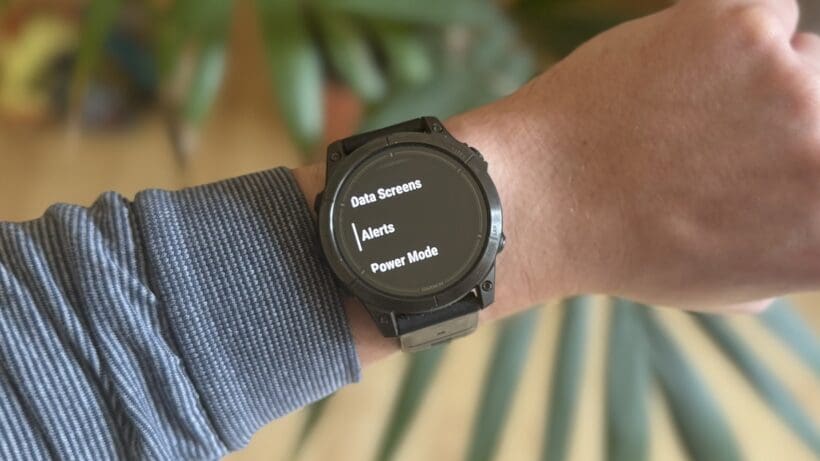
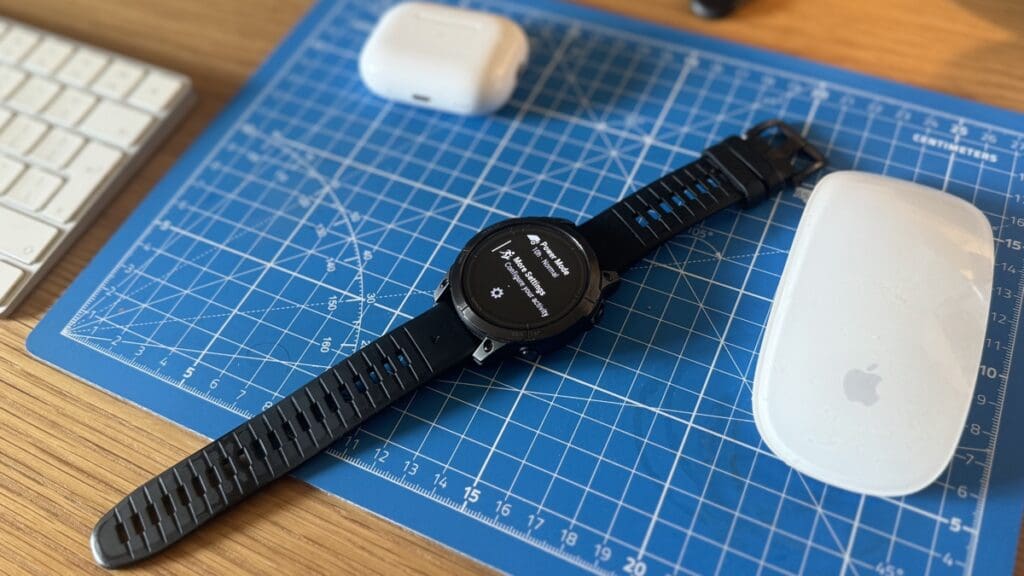
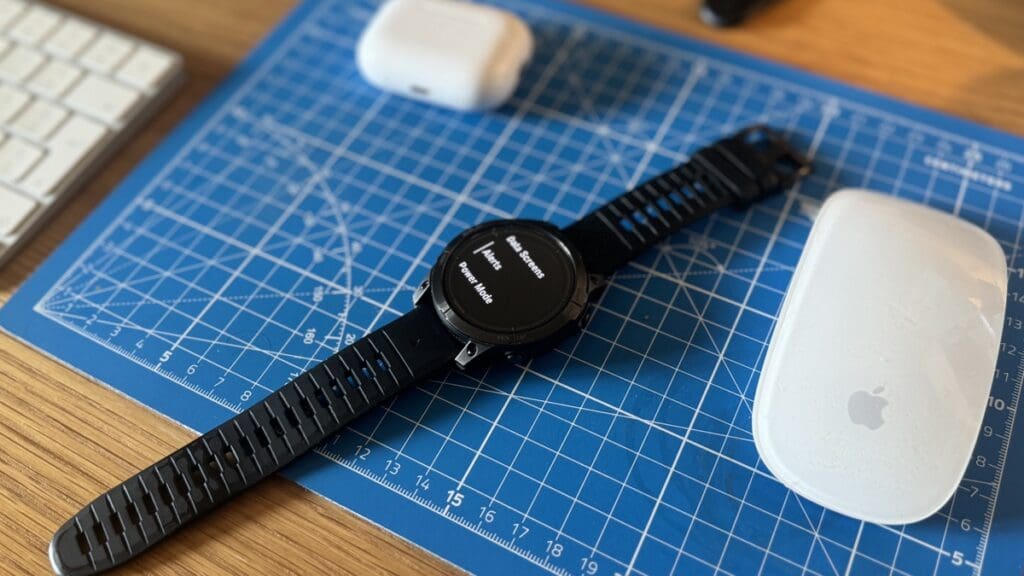
Step 2: Find the activity type’s settings
Confirm your chosen activity by pressing the ‘Start/Stop’ button again. Then, press the ‘Up/Menu’ button to bring up the profile’s list of settings.
From here, navigate to ‘More Settings’ and then find the ‘Alerts’ option.
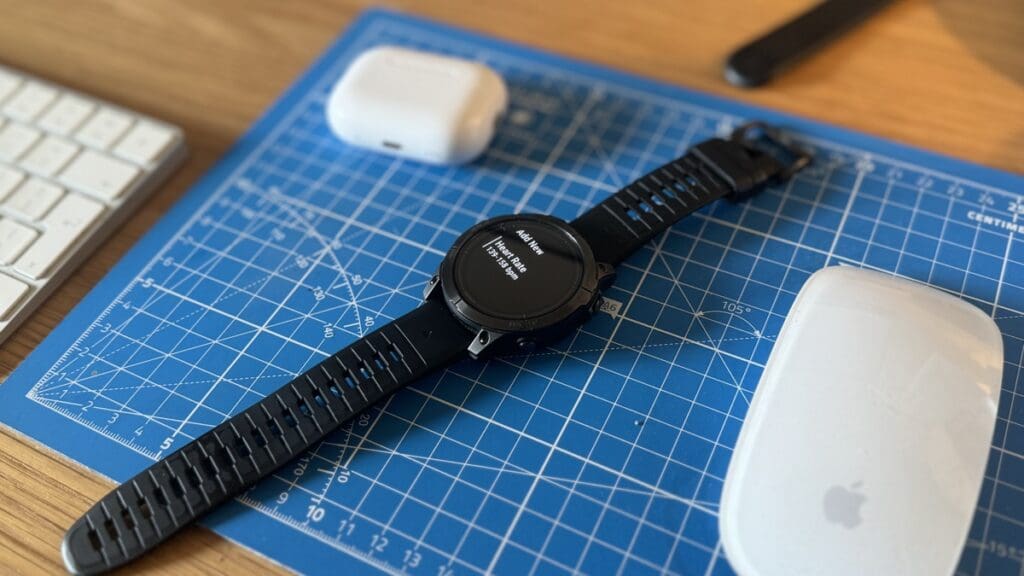
Step 3: Add a new heart rate alert
Now you’re in the Alerts section of your chosen workout type, it’s time to set up your heart rate alert. Start by tapping ‘Add New’, then select ‘Heart Rate’.
You’ll be prompted to set your high alert first, so choose the heart rate zone you want as your maximum value. Once that’s done, do the same for your minimum value.
For example, if, like us, you want to stay at 70-80% of your maximum heart rate on most runs, select the ‘Z3/Aerobic’ options for both your maximum and minimum value.
For us, this means we get an alert when we dip below 139BPM and if we go above 158BPM. This will vary depending on your zones, which most Garmin devices calibrate automatically.
Step 4: Adjust your alert values
Your alert is now set up, but you can still adjust it. After all, you can only have one heart rate zone alert set up at once, and it’s unlikely you’ll require the same alert for every type of run.
To adjust this, tap the ‘Heart Rate’ section (this should now appear under ‘Add New) and select different values for the alert type (high or low) you want to tweak.
It’s also here where you can select to remove your heart rate alert.
Step 5: Begin your workout
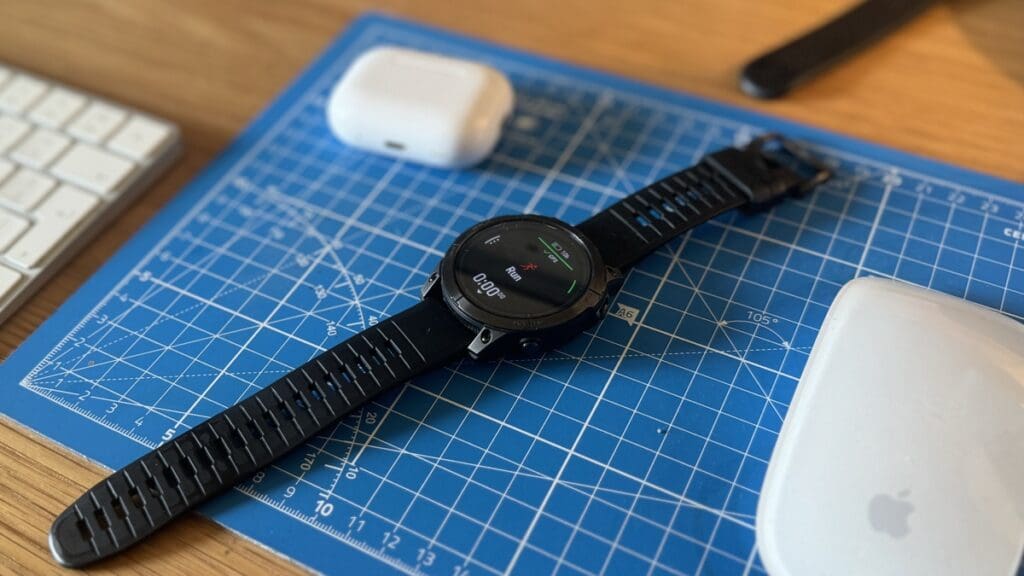
With that, you’re all set. Press the ‘Back/Lap’ button until you’re at the workout start screen.
Now, when you’re in a workout with this profile, your heart rate alerts should sound/vibrate per your device settings.


