
Change what insights you see when you're performing workouts.
Knowing how to customize the contents of your Garmin watch’s data screens is essential if you want to vary the information and insights you see during workouts.
No matter which Garmin sports watch you own, you should have many data screen options. In our experience, it can take some time to figure out which you want to see and reorder them to your taste, but the process of actually editing data screens is very straightforward.
Follow our steps below to edit your Garmin watch data fields—and remember you can also replicate these steps in Garmin Connect if you don’t want to customize them from the wrist.
1. Bring up the menu on your Garmin watch
This may vary slightly depending on your model, but start by bringing up the settings menu on your Garmin device. You’ll typically have to press and hold for a second or two – otherwise, you’ll jump to the bottom of your glances.
2. Find the activity you want to edit
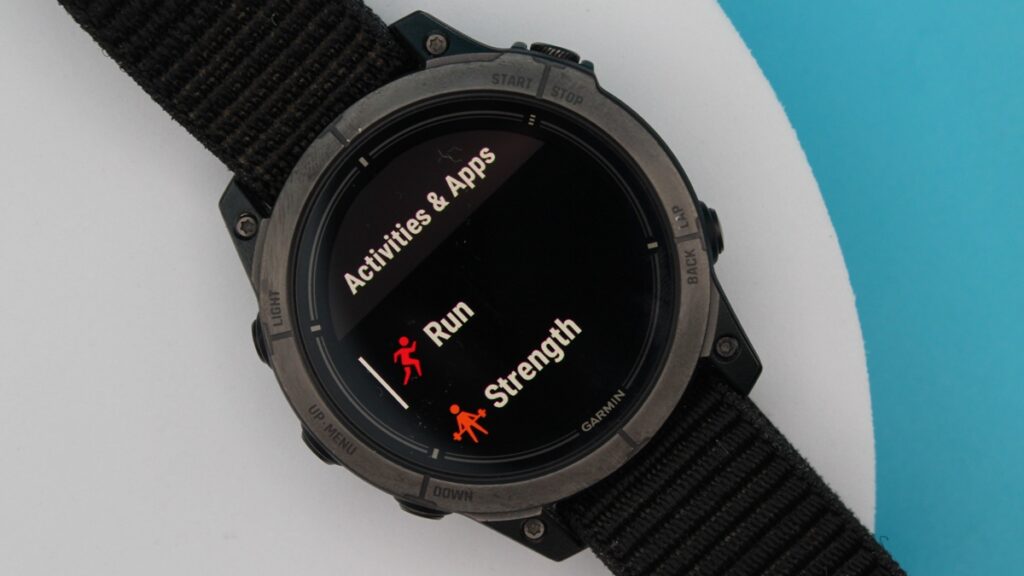
Next, use the touchscreen or ‘Up’ and ‘Down’ buttons to navigate to ‘Activities & Apps’.
From here, you’ll be given a list of your workout types (in the order they appear when you go to start a workout).
You can jump into any activity here – even ones not on the shortlist by scrolling to ‘Add’.
3. Locate the ‘Data Screens’ option
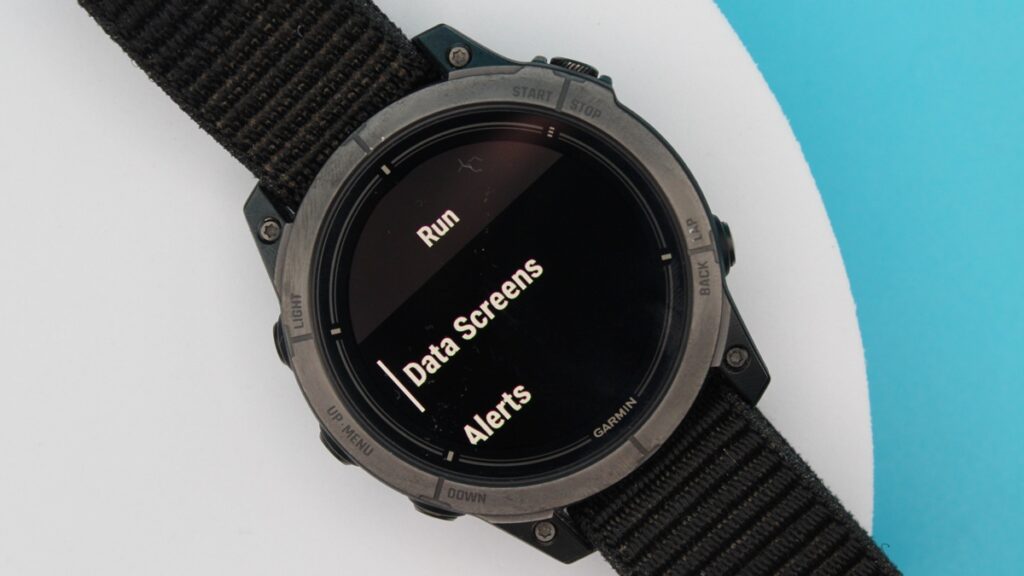
Once you’ve selected your chosen activity, tap on ‘[Activity Type] Settings’ or something similar and then ‘Data Screens’ located on the next page.
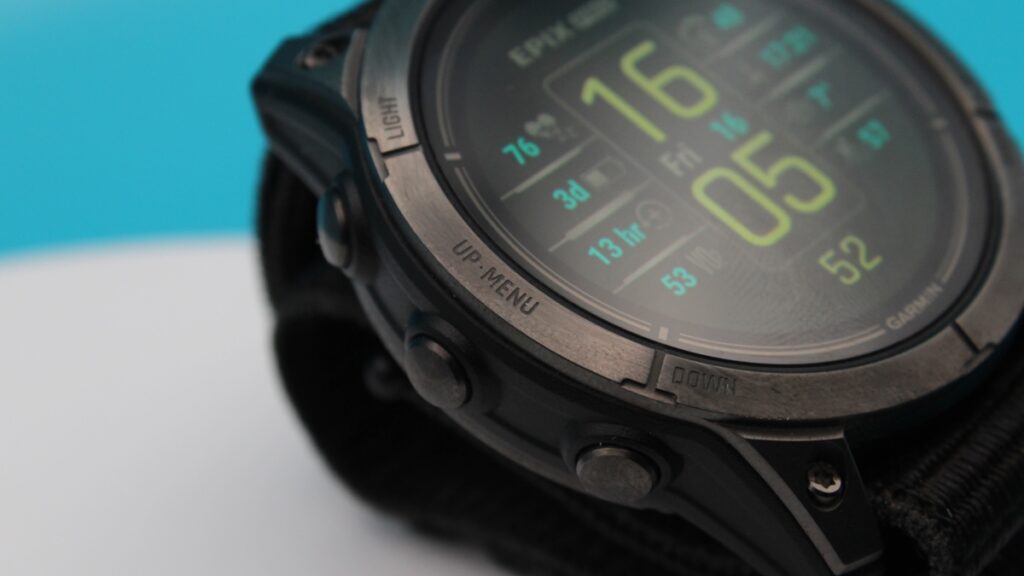
You should now be met with all the data screens and fields you’re used to from your activity.
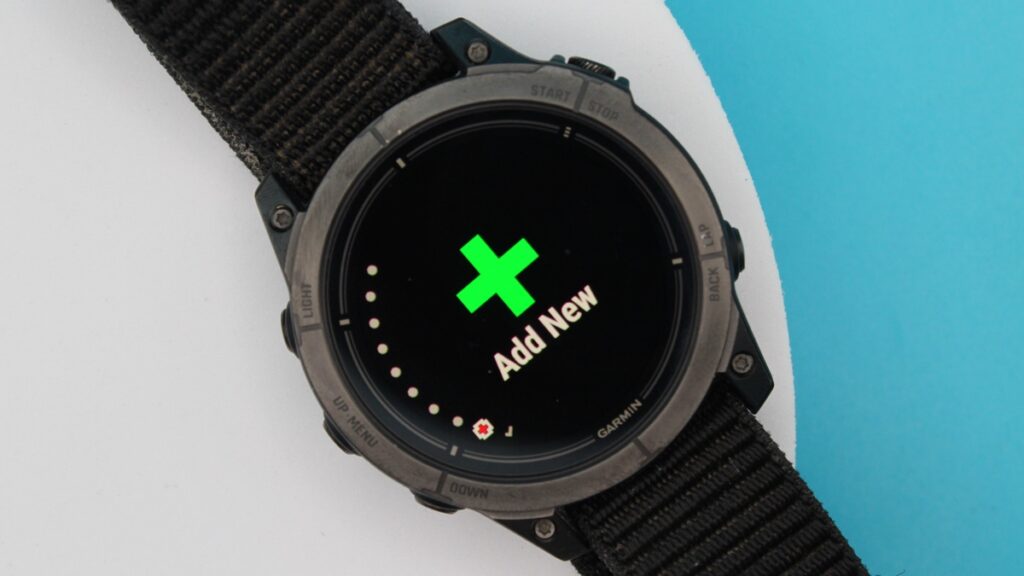
4. Scroll to the data screen you want to edit or ‘Add New’
From here, you’ll have to use the buttons to scroll up and down your current list of data screens. If you want to tinker with an existing one, tap the ‘Start/Stop’ button to begin editing.
If you want a new data screen, navigate to the bottom and find ‘Add New’.
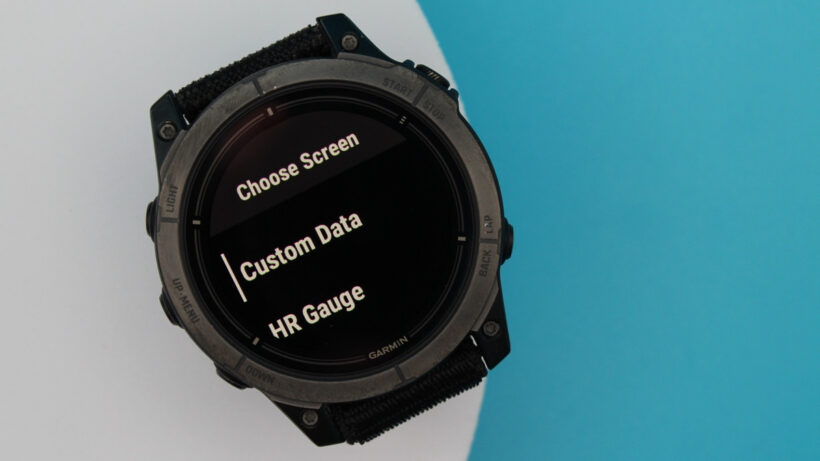
5. Begin customizing your data screen
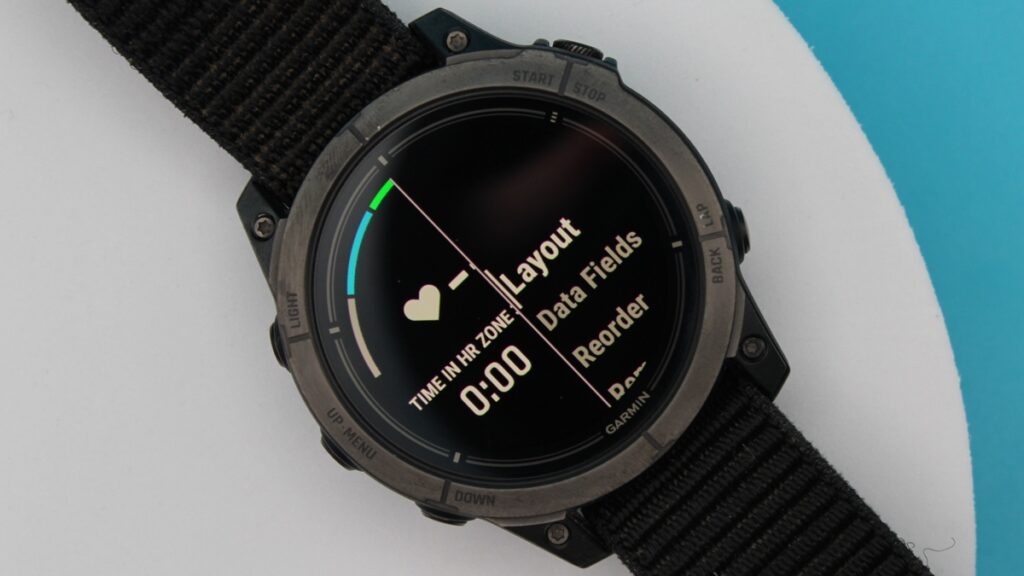
This is where the fun begins. Once you’ve selected a screen to edit, you should have the option to reorder it, change the layout, or change the data fields.
If you edit the data fields, you’ll be greeted with the pop-up overlay that allows you to replace the existing metrics with new ones.
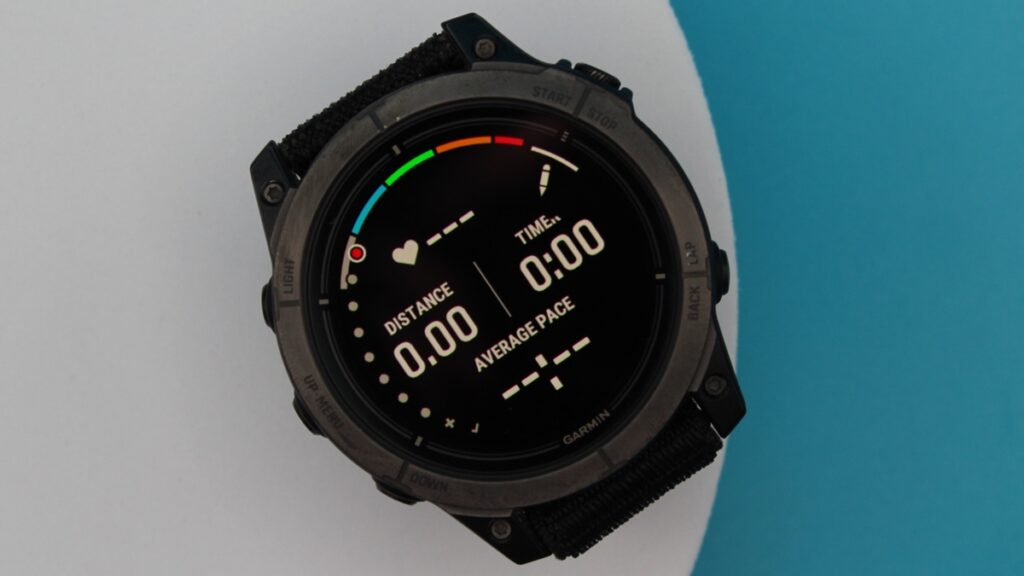
If you’re adding an all-new screen, you’ll select the data field layout you want and then fill the slots with different metrics in order.
6. Finish your edits and confirm
If you’re editing an existing data screen, press the ‘Start/Stop’ button to confirm your changes. At this point, you’ll be transferred back to the list of editing options. Once you’re happy with your work, press the ‘Back’ button, and everything should be set.
If you’re finished with a new screen, press the ‘Start/Stop’ button once you’re happy, and then use the ‘Up’ and ‘Down’ buttons to place it within the order.


